What To Check Before A Compact Laundry Setup With Better Drying Space
A practical step-by-step guide to what to check before a compact laundry setup with better drying space, including preparation, instructions, common issues, tips, and next steps.
What To Check Before A Compact Laundry Setup With Better Drying Space
Before you set up a compact laundry area that prioritizes drying space, take time to check the room's ventilation, available floor area, water access, and electrical safety. A well-planned setup prevents mold, saves energy, and keeps clothes drying efficiently. This guide walks you through the essential checks, step-by-step instructions, and troubleshooting tips to create a functional laundry corner even in tight spaces.
Fast Answer
- Measure the space first: ensure at least 60 cm of clearance in front of the dryer and 10 cm on all sides for airflow.
- Check for a nearby window, exhaust fan, or dehumidifier to keep moisture from causing mold or mildew.
Before You Start
- Measure the floor area and door widths to confirm that the washer and dryer can fit through and be placed with enough space for opening doors and vents.
- Locate water supply valves and drain connections close to the planned spot; check that hoses can reach without stretching or kinking.
- Confirm the electrical outlet is a grounded three-prong type and rated for the appliances' amperage; avoid using extension cords.
- Ensure there is at least one dedicated 20-amp circuit for the laundry equipment to prevent overloads.
Step-by-Step Instructions
Measure the Floor Space Carefully
Start by measuring the width, depth, and height of the intended laundry area. Use a tape measure to record clearances: at least 60 cm in front of the dryer for loading and unloading, and 10 cm on each side for air circulation. Check the doorways and hallways that lead to the space; you need to know whether the appliances will fit through them. If the space is tight, consider a stacked unit or a compact washer-dryer combo, but measure the opening heights as well. Write down these measurements and compare them with the dimensions of the appliances you plan to buy or already own. This step prevents the frustration of purchasing a dryer that cannot pass through the door or does not leave enough room for ventilation. Remember that a proper fit is the foundation for efficient drying; a cramped dryer will have restricted airflow and take longer to dry clothes.
Assess Ventilation and Airflow
Look at the room's ventilation options. A window, exhaust fan, or a vent that leads outside can help remove moist air. If you plan to use a ventless condensing dryer, confirm that the room has adequate air circulation, such as an open window or a fan to keep the air moving. Check that there is no obstruction blocking the vent or the window. Also, consider the humidity level in the space; if it is naturally damp, you might need a dehumidifier. Run a humidity test by placing a moisture meter in the area for a day. High humidity makes drying less effective and can cause mold. This check matters because moisture is the main enemy in compact laundry setups; without proper airflow, clothes take longer to dry and your home may develop a musty odor.
Inspect Water Supply and Drainage
Verify that there is a cold water supply valve within reach of the washer's fill hoses. Measure the distance between the valve and the washer's connections to ensure the hoses can attach without stretching. Check the drain pipe or standpipe height; it should be between 60 and 90 cm from the floor for proper drainage. Look for any signs of leaks or corrosion in the existing connections. Also, ensure the drain hose is not kinked and has an air gap to prevent siphoning. This check is vital because a secure water connection prevents flooding, and proper drainage ensures that the washer can expel dirty water effectively. If the area lacks a drain, you may need to install one or plan for a sink connection, but always consult a plumber for major changes.
Verify Electrical Capacity and Outlets
Find the dedicated circuit breaker for the laundry room. Check that it is rated for at least 15 amps for a washing machine and 30 amps for an electric dryer (gas dryers need less). Look at the outlet: it should be a three-prong grounded outlet near the appliances, not a two-prong or a ground-fault circuit interrupter (GFCI) unless specified by local codes. Do not use an extension cord or power strip. If the outlet is too far away, call an electrician to install a new one. Also, verify that the circuit is not shared with other high-power appliances. This step is important because underpowered circuits can trip breakers, damage motors, and create a fire hazard. Take a photo of your breaker panel and outlet to have the details handy when shopping.
Plan for Drying Space and Storage
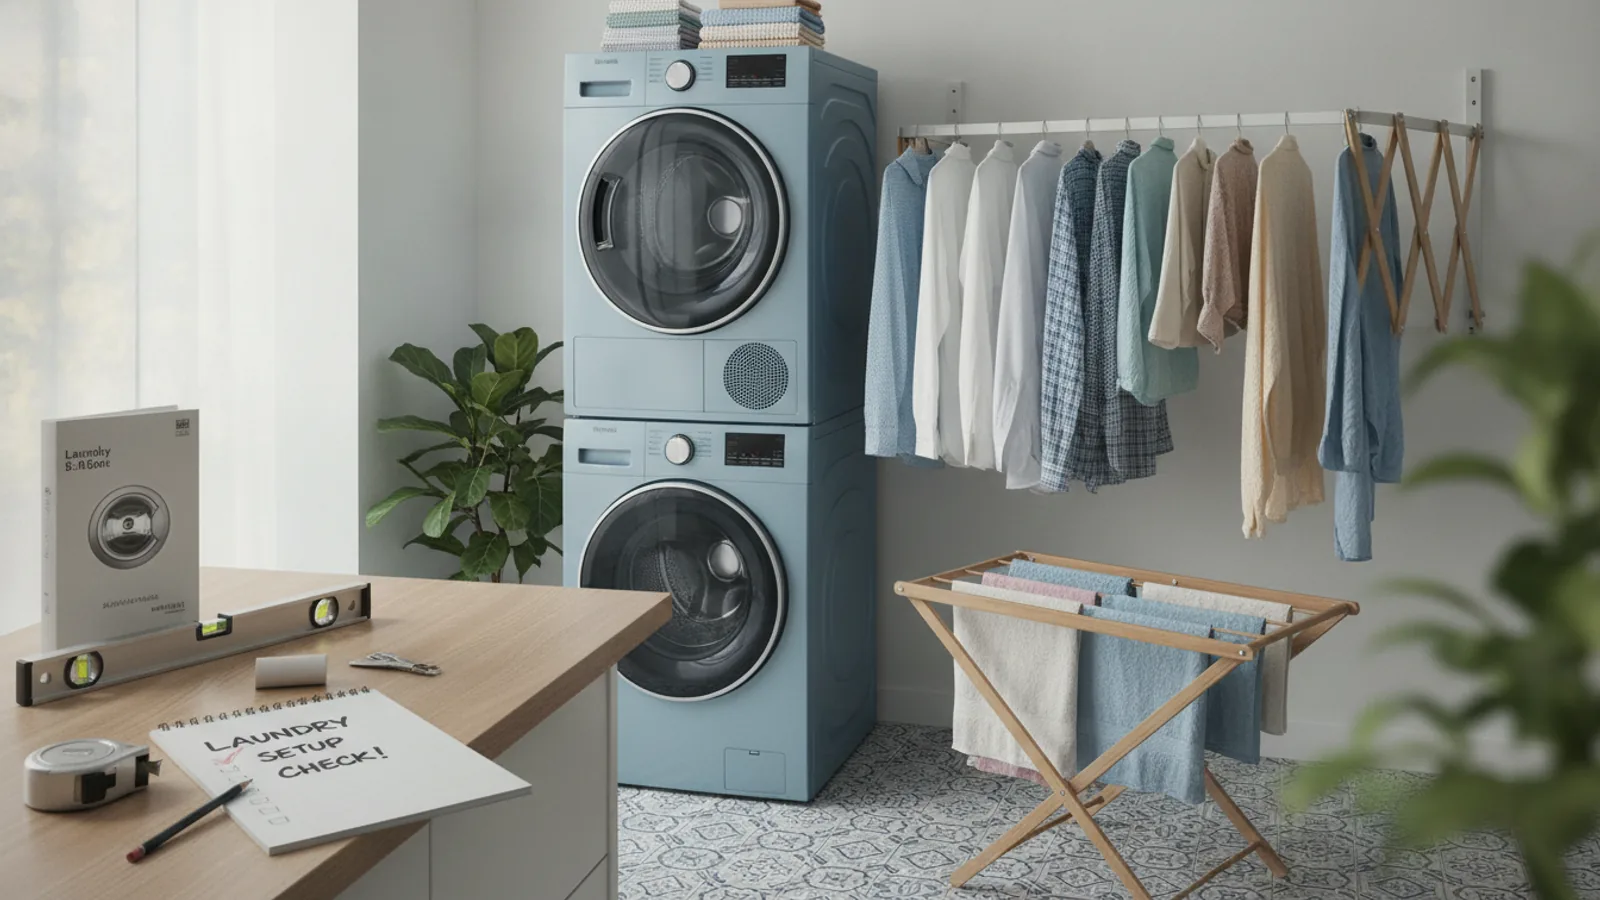
Decide where you will hang clothes that should not go in the dryer. A retractable clothesline, a foldable drying rack, or a wall-mounted drying rack can provide vertical space. Measure the wall area and the ceiling clearance for these options. Ensure that there is at least 60 cm of clear space in front of any drying rack so you can reach clothes comfortably. Also, consider a shelf above the washer and dryer for laundry supplies; this keeps the floor clear. Check that any hooks you install are sturdy enough for wet clothing weight. This step ensures that you can dry delicate items without overloading the dryer, and that you have a dedicated spot for air-drying, which saves energy and preserves fabrics.
Test the Setup with a Small Load
Once the appliances are in place and connected, run a small test load of towels or everyday clothes. Start the washer on a normal cycle, then move the clothes to the dryer. Pay attention to the drying time and check that the clothes come out completely dry. Listen for any unusual sounds from the dryer, and inspect the vent for proper exhaust (if applicable). Also, check for any water leaks around the hoses and the drain. After the test, measure the humidity level in the room with a hygrometer to see if the space becomes too damp. This final test reveals any issues with ventilation, levelness, or connections, allowing you to correct them before they become bigger problems. It also gives you a baseline for future loads.
Quick Reference
| Situation | Action | Why it helps |
|---|---|---|
| The room feels humid and the dryer takes forever. | Open a window or use a dehumidifier, and check the vent for blockages; clean the lint trap before every load. | Good airflow removes moisture from the air, helping the dryer work efficiently and preventing condensation. |
| The washer shakes or makes loud banging sounds. | Level the machine by adjusting the legs and ensure it sits on a firm, even floor; use a bubble level to check. | An unbalanced washer can vibrate excessively, damaging the floor and reducing spin speed, which leaves clothes wetter. |
| You notice water pooling near the appliance after a cycle. | Inspect the hoses for cracks or loose connections, tighten them, and replace any damaged parts immediately. | Leaks can cause water damage and create mold; catching them early saves you costly repairs. |
Common Issues
- The dryer's lint filter gets clogged quickly.: Remove the lint after every single load and periodically vacuum the vent system to prevent buildup; check for any lint accumulation inside the dryer drum edges.
- Clothes still smell musty after drying.: Clean the rubber gasket around the washer door with a damp cloth and use a washing machine cleaner monthly; also leave the door open between loads to allow air circulation.
- The space is too tight to open the dryer door fully.: Reconsider the layout: swap the positions of the washer and dryer or install a sliding shelf to hold clothes; or choose a dryer with a reversible door that opens the other way.
Advanced Tips
- Install a moisture-sensing dryer that automatically stops when clothes are dry; this saves energy and prevents over-drying, which can damage fabrics.
- Place a shelf above the washer to store laundry baskets and detergents, keeping the floor clear and making transfers easier.
- Use ceiling-mounted pulleys to create an instant drying line that can be raised when you need the space below for other tasks.
Final Checklist
- Confirm that the dryer has at least 10 cm of clearance on all sides and 60 cm in front for proper airflow.
- Verify that the water hoses are attached securely and do not have any kinks or leaks before starting a load.
- Check that the electrical outlet is grounded and the circuit is rated for the appliances' power needs.
- Ensure there is a dedicated drying spot for delicate items and that the room has a window or fan for humidity control.
FAQ
How often should I clean the dryer's exhaust vent?
You should clean the vent at least once a year, but if you use the dryer frequently, check it every six months. A blocked vent reduces airflow, increases drying time, and can cause a fire hazard. Use a vacuum cleaner with a long hose attachment to remove lint from the vent's interior.
Can I use an extension cord for my compact washer or dryer?
No, it is unsafe. Extension cords can overheat and cause a fire because the power draw is high. Always plug these appliances directly into a properly grounded outlet that is on a dedicated circuit. If the outlet is not within reach, call a licensed electrician to install one.
What is the best way to dry clothes in a small apartment?
Use a combination of a compact ventless dryer for bulky items and a foldable drying rack or retractable clothesline for delicates. Place the rack near a window or use a dehumidifier to speed up air drying. This approach saves energy and extends the life of your clothes.