How To Plan A Practical Kitchen Storage Refresh On A Modest Budget
A practical step-by-step guide to how to plan a practical kitchen storage refresh on a modest budget, including preparation, instructions, common issues, tips, and next steps.
How To Plan A Practical Kitchen Storage Refresh On A Modest Budget
Refreshing your kitchen storage on a modest budget means working with what you have, not buying a whole new setup. You can achieve a calmer, more functional space by clearing out unused items, sorting what remains, adding simple organizers, and using vertical space. This guide takes you through a practical, room-by-room plan that respects your wallet and your time. Each step shows you exactly what to do, when to do it, and how to check your progress, so you can avoid common mistakes and build a system that lasts. You will learn to measure, declutter, categorize, zone, and maintain your kitchen without spending much. The goal is to make every shelf, drawer, and cabinet work harder for you, so you can find what you need and enjoy cooking more.
Fast Answer
- Start by clearing one drawer or cabinet at a time, then sort items into keep, donate, and discard piles; this prevents overwhelm and gives you a quick win that motivates you to continue.
- Measure your existing shelves and drawers before buying any organizers, then use simple items like baskets, risers, and adhesive hooks to maximize vertical space and keep like items together.
Before You Start
- Gather a tape measure, notebook, and pen to record the interior dimensions of your cabinets, drawers, and pantry shelves, so you know exactly what will fit.
- Collect three boxes or bags labeled keep, donate, and discard; having these ready will make the sorting process faster and more organized.
- Set aside a few hours of uninterrupted time, perhaps one session per cabinet, so you can focus without rushing and make better decisions.
- Empty your kitchen cleaning supplies and have a cloth and mild cleaner on hand to wipe down surfaces as you work, ensuring a clean base.
Step-by-Step Instructions
Empty and Sort a Single Cabinet or Drawer
Start by choosing one cabinet, drawer, or pantry shelf to work on. Completely empty its contents onto your counter or table, and then wipe down the interior with a damp cloth. As you remove each item, decide: do you use it regularly, occasionally, or never? Put items you use at least once a week in the keep pile, occasionally used items in a separate maybe pile, and anything you have not used in over a year in the donate or discard box. Be honest, because this step is the foundation of your entire refresh. For example, that extra mixing bowl you always skip or the gadget you bought but never used should go. Once you have sorted everything, you will likely find that your space is emptier than you thought, which gives you a clear picture of what you truly own. This emptying process also reveals any crumbs or spills that need cleaning. After sorting, you can move on to assigning each kept item a logical home based on how often you reach for it. Doing one small area at a time prevents burnout and lets you enjoy a quick, visible win that motivates you to keep going. A practical check before you move on is to count how many items you kept; if the count is still high, consider whether you really need duplicates or rarely used specialty tools. The explanation for this check is that keeping only what you love and use makes it easier to find things later, and it reduces clutter without costing you anything.
Measure Your Shelves and Drawers
With your cabinet or drawer emptied, take precise measurements of the interior width, depth, and height. Use a tape measure and record the numbers in a notebook, including the height between shelves and the depth of drawers. This is a critical step because many organizers are designed for standard sizes, but your kitchen may have odd dimensions. For example, the space under your sink is often deeper than it looks, and deep drawers may benefit from dividers that you can adjust. Also measure any existing pull-out shelves or lazy Susans so you know what will fit around them. If you have a corner cabinet, measure the diagonal opening because a spinning shelf might be a good option. Write down each measurement next to the location, and note whether the shelf is adjustable. After you measure, you can visualize what types of storage aids will work: stackable shelves for canned goods, clear bins for snack bags, or a tiered stand for spices. This step also reveals whether you can add a second shelf inside a tall cabinet by using a riser. Once you have all measurements, you will be ready to shop with a purpose, knowing exactly what dimensions will fit. A practical check is to compare your measurement list to the items you kept; if you have a lot of tall bottles, make sure to account for that height. The reason this matters is that buying organizers without measuring is one of the biggest budget wasters, and precise numbers ensure every dollar you spend works.
Design a Zone System for Your Kitchen
Now that you know what you have and your measurements, plan where each category should live. Group items into zones: food storage, cooking tools, bakeware, and cleaning supplies. Place frequently used items at eye level or within easy reach, such as everyday plates on a middle shelf and pots near the stove. Reserve high or low spaces for occasional items like specialty pans or seasonal serving dishes. In your plan, think about the flow of your kitchen: you do not want to walk across the room to get a spatula while cooking. Draw a simple map of your cabinets and drawers, and assign a category to each. For example, put all baking pans in one cabinet near the oven, and keep plastic wrap and foil in a drawer near your counter prep area. Under the sink should be only cleaning products and trash bags. If you have a pantry, dedicate one shelf to breakfast items, another to canned goods, and so on. Zone planning prevents you from mixing tools and ingredients, which creates chaos. A practical check is to imagine cooking a simple meal and see if every item you need is in a logical place. The reason this check works is that it forces you to think about your actual habits, so your system is personal and efficient, not just theoretically neat.
Add Low-Cost Organizers and Dividers
Based on your measurements and zone plan, choose a few simple organizers that will dramatically improve your space without breaking the bank. Look for items like mesh drawer dividers, stackable cabinet shelves, clear bins for pantry items, and small hooks for mugs or utensils. You do not need to spend a lot; even using small cardboard boxes covered in contact paper can work as drawer dividers. When selecting bins, buy ones that are slightly smaller than your shelf depth so they do not stick out. Use vertical stackable shelves to double your storage for plates or cans. For deep drawers, add a cutlery tray or use small containers to separate tools. If you have a blank wall, install a simple adhesive hook strip to hang measuring cups or a cutting board. Before you buy anything, check that the organizer fits your measured space and that it serves a specific purpose, not just because it is cute. A practical check is to place the organizer in the empty space and visualize your items arranged inside; if it does not instantly make sense, choose a different size. The reason this check matters is that an organizer that requires rearranging later defeats its purpose and wastes money. Even a few well-chosen pieces can make a huge difference.
Arrange Items for Easy Access and Visibility
Now you can place your kept items into your designed zones, using the organizers you purchased. Put the most frequently used items at the front or eye level, and place less used items toward the back or higher. In the pantry, group cans by type and face labels forward so you can see them at a glance. Use clear bins for snacks and baking supplies, and label each bin with a permanent marker or label maker. In drawers, use dividers to keep utensils separated and keep the dividers in place. When you put items back, aim to leave some space around each item so you can remove them easily. For example, do not cram baking sheets into a cupboard so tightly that you have to wrestle one out. If you have a lazy Susan, put it on a corner shelf and arrange bottles so they are easy to spin. After you arrange everything, step back and check that you can see the majority of items without moving things. A practical check is to take out a few items you use daily, like a coffee mug or a frying pan, and see if they are exactly where you would expect them. The reason this check is important is that your system needs to be intuitive; if you have to hunt for a spatula, you will not keep the system.
Evaluate and Adjust After One Week of Use
After using your new kitchen layout for a week, do a quick evaluation. Notice which areas are easy to keep tidy and which ones seem to fall into chaos quickly. Perhaps the snack bin is always overflowing, or the drawer with foil and bag clips gets messy because items are not separated. It is normal to need adjustments. Make small tweaks, such as swapping bin sizes, moving a shelf up or down, or adding a small container for a problem spot. If you find that you are still leaving items on the counter, think about why: maybe a cabinet is too far from where you use that item, or you need a hook next to the stove. Take note of what works and what does not, then restructure. You might also discover that you have kept too many items in a category, so do a mini purge of duplicates. A practical check is to look at your counters and see if they are mostly clear, because the goal is to have a place for everything. The reason this check matters is that you are building a sustainable system, and a small weekly adjustment prevents clutter from building up again. Remember that organization is not a one-time event but an ongoing habit.
Quick Reference
| Situation | Action | Why it helps |
|---|---|---|
| You are buying a shelf riser and are unsure if it will fit inside your cabinet. | Measure the full interior height, depth, and width of your cabinet, then subtract a little space for clearance. Compare those numbers to the product dimensions before you purchase. | Knowing exact dimensions ensures the riser does not block the door or sit too close to other shelves, saving you from a wasted trip and a wasted purchase. |
| Your spice jars are scattered on multiple shelves and you cannot find the right one. | If you have a shallow drawer, place an expandable bamboo drawer organizer inside to hold the jars upright, so you can see every label at a glance. | A dedicated, visible spice storage system prevents you from buying duplicates and quickens meal prep because you can identify spices instantly. |
| You want to hang mugs or utensils but cannot drill holes in your wall. | Use heavy-duty adhesive hooks with a high weight rating, and press them firmly onto a clean, dry tile surface. Let them set for at least an hour before hanging anything. | Adhesive hooks are removable and do not damage walls, but you must follow the installation instructions so they hold securely without falling. |
Common Issues
- You bought organizers that are too large for your shelf, and now they stick out and look messy.: Measure the shelf depth and height, then consider returning the oversized items. Instead, use stackable bins that fit snugly, or use adjustable tension rods to create custom-sized separators.
- After decluttering, you still have too many items in one category, like mugs or plastic containers.: Re-examine your duplicates and keep only your favorites. Donate extras, and for plastic containers, match each with a lid and discard those without a match. Set a limit, such as keeping only ten containers for food storage.
- Your labels fall off or fade over time, and everyone is confused about where things go.: Use a permanent marker on a piece of painter's tape, which is more durable than paper labels. Alternatively, use a label maker with strong adhesive, or write directly on the shelf with a grease pencil so you can erase when needed.
Advanced Tips
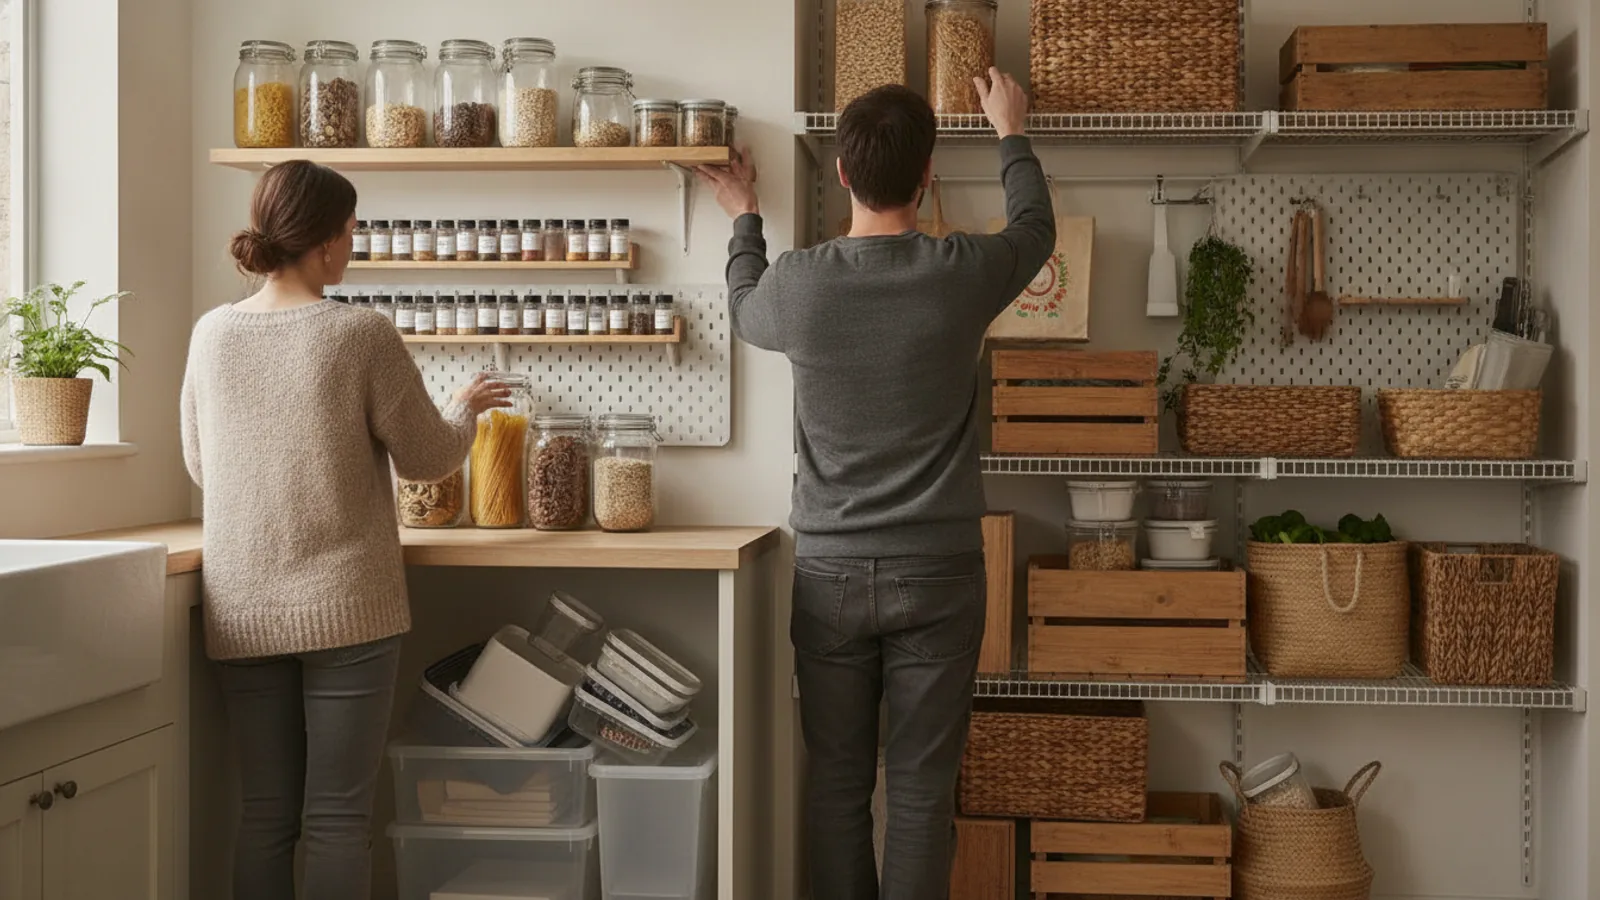
- Install a pegboard on the inside of a pantry door to hold small tools, measuring cups, or foil and plastic wrap, using hooks that fit your items and do not block the door.
- Use clear, stackable drawers that pull out, so you can access deep pantry items without having to dig from the top. Label the front of each drawer for easy identification.
- Mount a small wire rack under a cabinet to hold cutting boards or baking sheets vertically, freeing up horizontal shelf space for other items.
Final Checklist
- Decluttered at least one full cabinet or drawer, sorting items into keep, donate, and discard piles.
- Measured the interior dimensions of your main storage areas and recorded them in a notebook.
- Assigned each category a specific zone based on how often you use items, and placed them within easy reach.
- Added at least two low-cost organizers, such as dividers or stackable shelves, and your kitchen is easier to navigate now.
FAQ
How do I know which items to discard when decluttering?
Ask yourself if you have used the item in the last year, and if not, consider whether you have a genuine upcoming need. If it is a duplicate or you have a newer version, you can donate it. For items with emotional value, take a photo and let it go. The goal is to keep only what you use regularly or truly love.
What is the best way to organize a deep cabinet that is hard to reach?
Use pull-out drawers or bins that slide out, so you can see everything without bending down. Choose baskets without covers and keep them shallow. Place items you use less often in the back, and store heavier items on the bottom, but make sure the board or bin can support the weight. A lazy Susan can also help for round corner cabinets.
How can I prevent my kitchen from returning to a cluttered state?
Assign a home for every item, and stick to a rule: if you bring something new in, donate something old. Spend five minutes each evening to clear countertops and put things back. Do a quick monthly review of problem areas, and adjust your organizers if needed. Finally, be honest about what you use and resist buying duplicates.