Common Mistakes When Planning A Practical Kitchen Storage Refresh On A Modest Budget
A practical step-by-step guide to common mistakes when planning a practical kitchen storage refresh on a modest budget, including preparation, instructions, common issues, tips, and next steps.
Common Mistakes When Planning A Practical Kitchen Storage Refresh On A Modest Budget
A kitchen storage refresh on a modest budget often goes wrong because people buy containers before measuring, ignore how they actually cook, or focus on looks instead of daily function. This guide helps you avoid common planning mistakes by measuring first, sorting honestly, and choosing simple systems that fit your habits. You'll learn to set a realistic scope, pick multipurpose items, and build a step-by-step plan that keeps costs low and clutter down. The result is a kitchen that works better for you without wasting money on trendy organizers you don't need.
Fast Answer
- Measure your available cabinet, drawer, and shelf space before buying anything, and also measure the items you plan to store, so you know exact dimensions and avoid unusable purchases.
- Empty one area at a time, sort items into keep, relocate, donate, and discard piles, and only then decide what storage products might help, because you can't organize what you haven't decluttered.
Before You Start
- Gather a tape measure, notepad, and pencil to record every cabinet interior width, depth, and height, including door swing and shelf spacing, so you have real numbers to plan with.
- Take photos of every storage area from different angles to visually review later, especially tricky corners and deep shelves, because photos reveal overflow and wasted space you might miss in person.
- Set a clear budget for the entire refresh and write it down, but also allocate a small reserve for unexpected needs like shelf liners or a single extra hook, so you stay flexible without overspending.
- List your top five cooking and storage routines, such as weekly meal prep or using small appliances daily, because your storage plan should match how you actually use the kitchen, not an idealized version.
Step-by-Step Instructions
Measure Every Storage Zone and Your Key Items
Start by measuring the inside dimensions of every cabinet, drawer, and pantry shelf you plan to improve. Use a tape measure to record width, depth, and height, and note any obstructions like pipes, hinges, or dividers. Also measure the largest items you need to store, such as a stand mixer, dinner plates, cereal boxes, or tall bottles. Write these numbers on a simple sketch of your kitchen, and photograph each area. This step forces you to confront reality: you might discover a deep cabinet that swallows items or a narrow drawer that limits options. Without exact numbers, you risk buying a turntable that is two centimeters too wide or a shelf that leaves wasted vertical space. Checking your measurements against your actual items prevents costly mistakes and helps you see which zones deserve attention. This is the foundation for every later decision, so do not rush it.
Empty, Sort, and Categorize Everything Area by Area
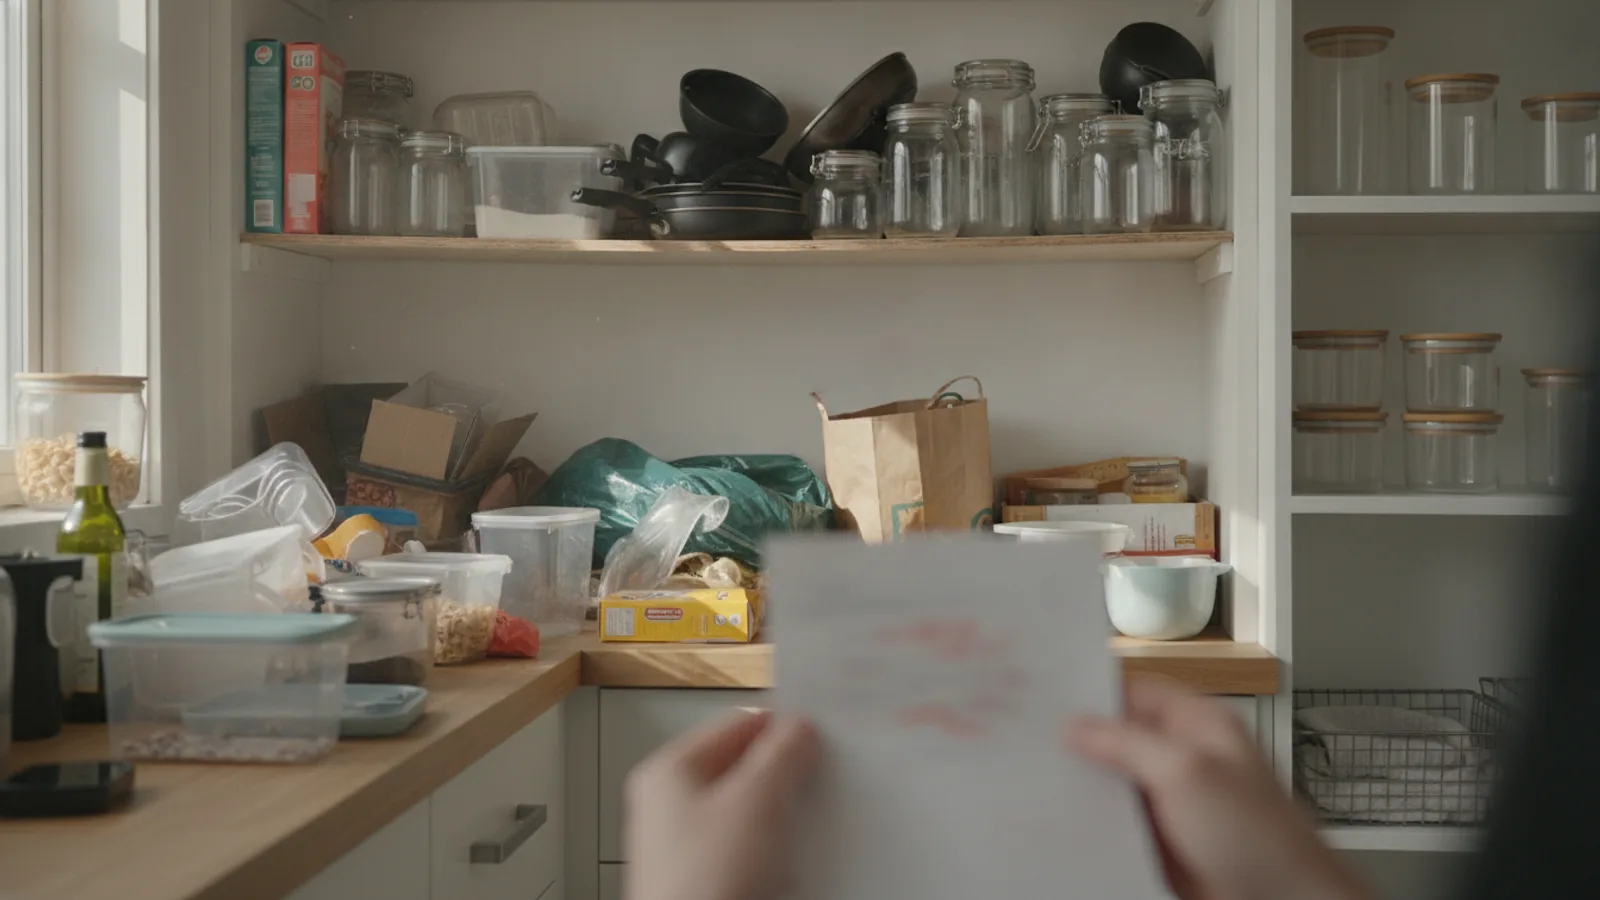
Choose one cabinet, drawer, or shelf to tackle at a time. Remove every item and place it on a clean counter or table so you can see what you truly own. Wipe down the empty space with a damp cloth, then sort items into four clear piles: keep, relocate to another area, donate or give away, and toss or recycle. Be honest about what you use regularly versus what seemed like a good idea months ago. For example, a duplicate measuring cup or a gadget with a single purpose may be better donated. After sorting, group the keep pile by category, such as baking pans, mugs, or canned goods. Label each category with a sticky note. This process prevents you from buying storage for things you no longer need. It also reveals how much room you actually have once you remove clutter. You might find that your existing shelves are enough and you only need a few dividers. Working one zone at a time keeps the project manageable and gives you a sense of accomplishment that fuels the next step.
Design Zones Based on How You Cook and Move
Think about your workflow as you prepare meals. Place items near their point of use: pots and pans next to the stove, cutting boards and knives near your main prep area, and everyday plates and bowls at easy reach, not above the sink or in a far corner. Group by frequency—daily items at eye level, occasional items on high or low shelves. Use clear, open bins for pantry staples so you can see what is inside. If you bake often, keep baking sheets and mixing bowls together. For a small budget, focus on reusing what you have: repurpose old jars for dry goods or use tension rods to turn vertical space into extra shelf height. Before you commit to a layout, test it for a few days by placing items where you think they should go. This trial run helps you notice if you are constantly reaching for something stored too high or too far. Adjust as needed. The goal is to create a system that feels natural, so you are more likely to maintain it.
Choose Simple, Multipurpose Storage Solutions
When you do need to buy something, look for items that serve more than one purpose or that can adapt. For example, stackable wire shelves can create a second tier in a cabinet for plates or canned goods. A set of clear, uniform bins works for snacks, cleaning supplies, or even tools if you later reorganize. Drawer dividers can also be used for utensils, spices, or mail if you convert a drawer for something else. Avoid highly specialized gadgets like single-egg holders or can dispensers that take up room and only do one thing. Instead, select stackable containers that nest inside each other when not in use, or a lazy Susan that fits your corner cabinet's exact dimensions. Before buying, re-read your measurements and compare them to the product's listed dimensions on the package or online. Visualize how the item will sit in your space and whether it leaves wasted gaps. Remember that you might not need to buy anything for some zones—sometimes a cardboard box cut to size as a temporary divider works just as well for a while.
Install and Arrange Using the One-Touch Rule
Place your chosen organizers and items according to your design, but apply the one-touch rule: anything you use daily should be retrievable and put away with a single motion, without moving another item first. For instance, a pot lid should not be buried under another pot or behind a stack of bowls. Place the most-used items at waist height or on a pull-out shelf. When you put things away, do so in a way that respects the labels you created. Use vertical space by adding shelf risers for mugs or cutting boards, and use hooks on the inside of cabinet doors for measuring spoons or small lids. As you place each item, check that it is stable and that you can see it. If you find yourself rearranging for longer than a few minutes, stop and rethink the zone. The goal is not perfection but ease. After you finish one zone, step back and do a quick 'test run' by pretending to make a simple meal using only what is in that area. This helps you see if the layout works in practice.
Review, Adjust, and Create Maintenance Habits
After you have completed the refresh, take a day or two to live with the new setup. Notice what works and what does not. Perhaps you stored the toaster in a spot that is too far from the outlet, or you put snacks in a cabinet above the sink where they collect condensation. Make small adjustments immediately—this is part of the plan, not a failure. Then, create simple habits to keep the space organized: put a 'home' label on each shelf or bin, do a five-minute tidy each evening to return items to their spots, and do a mini-declutter every season. Regularly check for items that have crept in and don't belong. If you find that a certain zone keeps reverting to clutter, you may need to reduce the number of items or change the storage solution. The maintenance step is often ignored, but it is what makes the refresh last. Without it, you will eventually slide back into the same chaos, and you may end up spending more money on another organizer that doesn't fix the root problem.
Quick Reference
| Situation | Action | Why it helps |
|---|---|---|
| You see a stack of beautiful bins that could fit in your pantry, but you haven't measured the shelf height. | Measure the shelf height and width, and also measure your largest pantry item, such as a cereal box, to confirm the bin can hold it, then compare those numbers to the bin's dimensions. | Buying without measurements often leads to bins that are too short for tall items or too wide for the shelf, wasting your money and your time. |
| Your spice drawer is a jumble, and you're about to buy a spice rack that holds standard jars. | Empty the drawer, check which bottles you actually use, and measure the height of your tall spice jars, then choose a rack with adjustable shelves or a stepped tray that fits odd-sized containers. | Standard spice racks often fail because jars have different heights, so measuring first ensures you get a solution that works for your actual bottles, not an idealized set. |
| After sorting, you realize you have more mixing bowls than you will ever use, but you feel guilty discarding them. | Set a limit based on your cabinet space—for example, keep a nesting set of three or four sizes—and donate the rest to a local charity or give them to a community center that hosts cooking classes. | Holding onto duplicates eats up prime storage and makes every meal harder; letting them go frees space for the things you actually reach for daily. |
Common Issues
- Buying containers that are too large for the available shelf, causing them to hang over the edge or block the door from opening fully.: Always measure the interior dimensions of your cabinet, including any lip or frame that reduces usable space, and bring those numbers to the store or keep them handy while shopping online. Compare every product's dimensions against your own, and also measure the items you plan to put inside. If a product is even two centimeters too wide, skip it.
- Creating a system that looks Pinterest-perfect but fails in daily use because frequently used items are out of reach.: Place your most-used items between waist and shoulder height, and keep rarely used or heavy items on low or high shelves. Test the placement by pretending to cook a meal using only that zone. If you find yourself stretching or bending too often, rearrange until it feels natural.
- Over-purchasing organizers because you feel you need to fill every inch, leading to clutter and wasted money.: Take a 'less is more' approach: after sorting, see if you can reorganize with what you already have, such as using shoeboxes or repurposed glass jars. Only buy a specific organizer if you've identified a clear problem that no free solution solves, and even then, buy only what fits your measurements.
Advanced Tips
- Use vertical dividers to store baking sheets, cutting boards, and cooling racks upright in a cabinet or an unused rack, which saves horizontal space and makes items easier to pull out with one hand.
- Install a tension rod under the sink to hang spray bottles or hooks, turning an often-wasted area into a useful spot for cleaning supplies without drilling into the cabinet.
- If you have an awkward corner cabinet, fit it with a simple turntable or lazy Susan that matches the exact diameter of the turn space, and store infrequently used pots or small appliances there to free up prime real estate.
Final Checklist
- Yes, I've measured every cabinet, drawer, and shelf interior, and I've recorded those numbers in a dedicated notes app or on paper.
- I've emptied and sorted each zone into keep, relocate, donate, and discard piles, and I've asked myself if each keep item earns its spot.
- I've tested my new layout for two days, making small adjustments for flow and accessibility, and I'm satisfied that it works for my cooking habits.
- I've set a monthly 10-minute tidy reminder to return items to their homes and to do a quick seasonal declutter to prevent build-up.
FAQ
What if I can't measure every cabinet before buying?
If you cannot measure every cabinet, at least measure the specific area where you plan to put a new organizer. Write down the width, depth, and height of the interior, including any protruding edges. Also measure the largest item you intend to store there. Carry a small tape measure in your bag or keep a note on your phone so you can check dimensions while shopping. If you're still unsure, choose products with flexible features like adjustable shelves or hooks that can adapt to your space.
Is it okay to use cardboard boxes or old jars instead of buying new organizers?
Absolutely. Reusing cardboard boxes or cleaned jars is a great way to keep your budget low. Cut cardboard to fit as temporary dividers, or place jars to hold utensils and pantry staples. Just make sure these are clean, sturdy, and clearly labeled. Over time, you can upgrade to sturdier bins if needed, but starting with what you have is smart and reduces waste.
How do I know if I should put a storage item on the list for this refresh or skip it?
Ask yourself if the item solves a specific problem that you have already identified from your measurements and usage. For example, if your baking sheets are always a mess, a divider could help. But if you're buying a whimsical organizer because it looks nice, skip it. If you can't clearly state how it will make your kitchen function better, it's not worth the money or space. Take a photo of your current setup and compare it after you install a new organizer to see if it actually helps.