A Small Living Room Lighting Update Without Rewiring Checklist For First Time Readers
A practical step-by-step guide to a small living-room lighting update without rewiring checklist for first-time readers, including preparation, instructions, common issues, tips, and next steps.
A Small Living Room Lighting Update Without Rewiring Checklist For First Time Readers
This guide walks you through a complete lighting update for your small living room without any rewiring. You will learn to plan, choose plug-in fixtures, use smart bulbs, layer light with lamps, add dimmers and accents, and finalize with a checklist. Each step is practical, safe, and designed for first-timers, with tips for troubleshooting and quick reference for common situations.
Fast Answer
- Start by swapping your existing bulbs to smart or dimmable LED bulbs, which screw into current sockets and need no wiring.
- Add plug-in floor lamps and table lamps with cord covers or cable clips to create layered light without cutting into walls.
Before You Start
- Measure the room’s length and width, and note the location of every outlet, window, and door. This helps you decide where lamps will go without blocking paths.
- List every lamp and ceiling fixture you currently use, including bulb types and switch locations. This shows what you can reuse.
- Gather a tape measure, a notebook, a pencil, a step stool, and a voltage tester (if you have one). These tools make planning and installation safer.
- Decide on a target lighting mood, such as cozy, bright, or flexible. Write down the main activities you do in the room, like reading, watching TV, or socializing.
Step-by-Step Instructions
Plan your lighting layout
Begin by drawing a simple floor plan of your living room on paper. Mark every window, door, and outlet. Then sketch where you want pools of light: one for reading, one for general ambience, and one for highlighting a picture or plant. For each area, note which fixture type fits, such as a floor lamp near a chair, a table lamp on a sideboard, or a plug-in wall sconce. Check that no lamp will block a walkway or sit too close to curtains. A good rule is to have at least three light sources in a small room, which prevents harsh shadows. This plan is your guide; you will not need to rewire because every fixture will plug into an existing outlet. Taking time to plan now saves you from moving furniture later and helps you buy only what you need. Remember to leave 30 centimetres of clearance around each lamp for air flow and easy access. When you are satisfied, keep this plan handy as you move to the next steps.
Choose plug-in fixtures and bulbs
With your plan ready, select fixtures that suit your room’s size and style. For a small space, choose fixtures with a small footprint, such as a slim floor lamp or a compact table lamp. Look for fixtures that come with a clear plug and a standard cord, because these require no wiring. For bulbs, buy LED bulbs that are dimmable and have the correct base (usually E26 or E27) and wattage for each fixture. If you want color changes, consider smart bulbs that connect to an app, but you will not need to rewire for them. Before you buy, check each fixture’s label for the maximum bulb wattage, and never exceed that number. Also, consider the color temperature: warm white (around 2700K) creates a cozy feel, while cool white (around 4000K) is better for tasks. You can mix them, but keep the same temperature in each light pool to avoid a jarring contrast. Write down the type and number of bulbs you need for each fixture, and take this list to the store. This step ensures that everything will screw in easily and work safely with your existing outlets, moving you toward a complete lighting makeover without any rewiring.
Install smart plugs and dimmers
To gain control without rewiring, install smart plugs between your lamp cords and wall outlets. Each smart plug screws into the outlet, and you plug the lamp into it. Then, using the manufacturer’s app or a voice assistant, you can turn the lamp on and off, or set schedules. For dimming, you have two choices: buy a smart bulb that dims through an app, or use a plug-in lamp dimmer that sits between the lamp and the outlet. For safety, make sure the smart plug or dimmer is rated for the wattage of your lamp, which is usually printed on the lamp’s label. To install, plug the device into the outlet, then plug the lamp into it, and follow the app’s pairing instructions. If you are using a smart bulb, screw it in as you would any bulb. As you install each one, test it immediately to verify it responds. This step lets you control your lights from your phone or with a voice command, so you can adjust brightness without touching a wired wall switch. Always check the product documentation for any specific setup steps or Wi‑Fi requirements.
Layer light with lamps and sconces
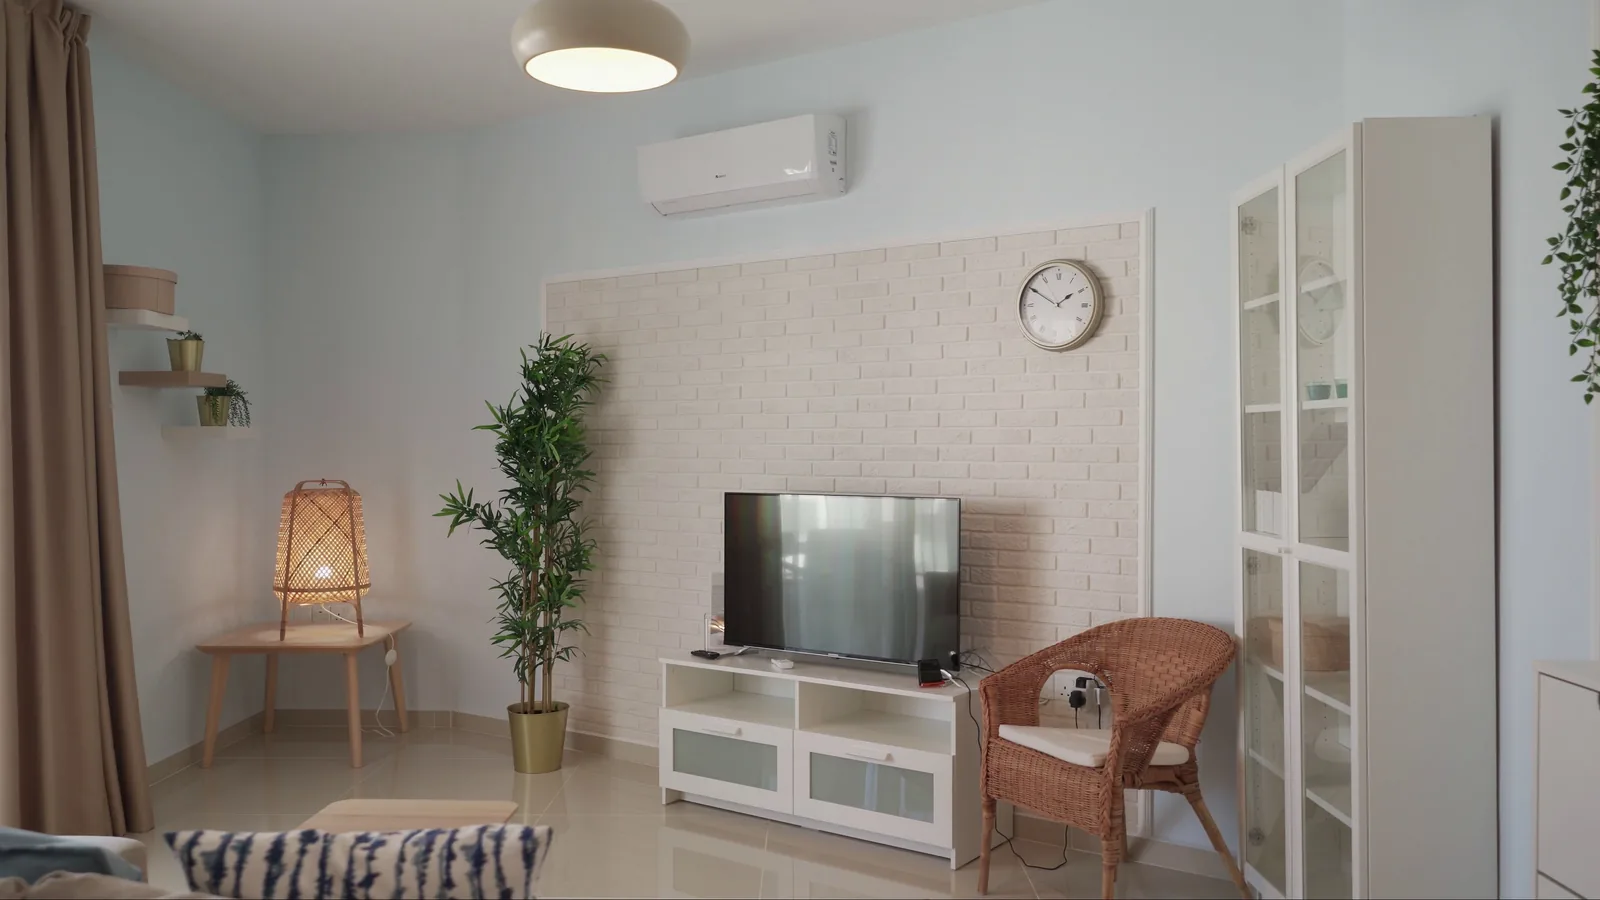
Now place your selected lamps to create three layers: ambient, task, and accent. For ambient light, use a floor lamp with a shade that diffuses light upward or downward, placing it in a corner to fill the room softly. For task light, put a table lamp on a desk or side table near your reading chair, angled so the light falls on the page, not in your eyes. For accent, use a small plug‑in wall sconce or a picture light to highlight a wall art or a plant, and position it so the light creates a gentle glow. Follow your floor plan and place each lamp, then plug it in. Use cord covers or cable clips to keep cords tidy along baseboards or behind furniture, so they are not tripping hazards. As you plug each lamp, test the switch and the dimmer. You can also use adapters to turn a single outlet into multiple outlets, but do not overload the circuit. The goal is to have a balanced mix of direct and indirect light, which reduces glare and makes the room feel larger. After this step, you should have a warm and functional lighting arrangement that required no new wiring.
Add dimmers and control settings
To fine‑tune your lighting, set up dimmers on your key fixtures. If you have smart bulbs, open the app and create scenes, such as “Evening” with 40% brightness in a warm tone, or “Reading” with 100% brightness on the task lamp only. If you use plug‑in lamp dimmers, adjust them manually by turning the knob or pressing the button. For smart plugs, you can set schedules so lamps turn on before sunset and off after you are asleep. When configuring dimmers, always start at a low brightness and then increase, because sudden bright light can be uncomfortable. Also, ensure that all smart devices are on the same Wi‑Fi network and that the app is updated. If you have a voice assistant, you can group your lamps into a room and control them all with one phrase. As you set each control, test it from the app or the dimmer itself, and adjust the fade speed if available. This step gives you the ability to change the ambiance instantly, without any rewiring, so you can match the lighting to your activity and mood.
Enhance with plug‑in accent lighting
For the final visual interest, add battery‑operated or plug‑in accent lights that require no wiring. For example, use plug‑in LED strip lights behind your TV or along a shelf, or place a small plug‑in uplight behind a potted plant to create a silhouette. If you want to highlight a bookshelf, choose a clip‑on light that attaches to a shelf and plugs into a nearby outlet. You can also use a plug‑in wall washer to cast a soft glow on a textured wall. When installing these, follow the manufacturer’s instructions for mounting and positioning. Always keep the cord away from water and heat, and use cable clips to secure them. Test each light to ensure it adds a pleasant glow rather than a harsh spot. You can also use a smart plug to control these accent lights with the same app you used for the lamps. This step transforms your living room into a layered, inviting space, and since everything is plug‑in, you have avoided any rewiring. After this, you can move on to the final checklist.
Quick Reference
| Situation | Action | Why it helps |
|---|---|---|
| You want to control a lamp from your phone without installing a wall switch. | Plug a smart plug into the outlet, then plug the lamp into it, and pair it with the manufacturer’s app. | Smart plugs add remote and app control using your existing wireless network, with no rewiring needed. |
| Your lamp cord is too short to reach an outlet without stretching across the room. | Use an extension cord that is rated for the lamp’s wattage, and run it along the wall with cable clips. | This safely extends the reach without leaving a trip hazard, and it avoids the need to add a new outlet. |
| You want to dim your lamps but your fixture has a standard on/off switch. | Install a plug‑in lamp dimmer between the lamp and the outlet, or replace the bulb with a dimmable smart bulb. | Plug‑in dimmers control brightness at the cord, while smart bulbs allow app and voice control, both without wiring changes. |
Common Issues
- The smart bulb does not connect to the app.: Place the bulb closer to your Wi‑Fi router during setup, and ensure the bulb is screwed in fully and powered on. Also, check that your phone’s Bluetooth and Wi‑Fi are enabled, and follow the app’s pairing instructions precisely.
- The lamp flickers when using a dimmer.: Check that the bulb is marked as dimmable. If it is not, replace it with a dimmable LED bulb. Also, ensure the dimmer matches the bulb type (for example, leading‑edge for many LEDs).
- There are not enough outlets near your desired lamp placement.: Use a power strip with a built‑in surge protector that has a short cord, and place it behind furniture. Plug multiple lamps into it, but do not exceed the strip’s rating, and never daisy chain strips.
Advanced Tips
- Use a plug‑in light timer to turn lamps on and off automatically when you are away, creating the illusion that someone is home.
- Install a plug‑in under‑cabinet light strip on the back of a shelf to create a warm wash of light that adds depth to the room.
- Use color‑changing smart bulbs to set a different hue for each activity, like a cool white for cleaning and warm amber for conversation.
Final Checklist
- Have you walked around the room and confirmed that no lamp cord is in a walking path or under a rug?
- Did you test every lamp, smart plug, and dimmer to ensure they turn on and off as expected?
- Are all bulbs the correct type and wattage for their fixtures, and are all connectors snug?
- Have you reviewed your plan to see if you achieved at least three light sources with a mix of ambient, task, and accent light?
FAQ
Do I really need no rewiring to do this lighting update?
Yes. All the methods in this guide use plug‑in fixtures, smart plugs, and battery‑operated or plug‑in accents. You only insert plugs into existing outlets, which requires no electrical wiring work. Always follow safety instructions and product manuals.
How do I know if a bulb is dimmable?
Look for the word 'dimmable' on the bulb’s packaging or base. If you are unsure, search for the bulb model online or check the manufacturer’s website. Using a non‑dimmable LED with a dimmer can cause flickering or damage.
Can I use a smart plug with any lamp?
Yes, as long as the lamp’s wattage is within the smart plug’s rating, which is usually printed on the plug. Also, check that the lamp has a standard two‑prong plug, and the smart plug fits your outlet type. Always follow the plug’s instructions.