A Compact Laundry Setup With Better Drying Space Checklist For First Time Readers
A practical step-by-step guide to a compact laundry setup with better drying space checklist for first-time readers, including preparation, instructions, common issues, tips, and next steps.
A Compact Laundry Setup With Better Drying Space Checklist For First Time Readers
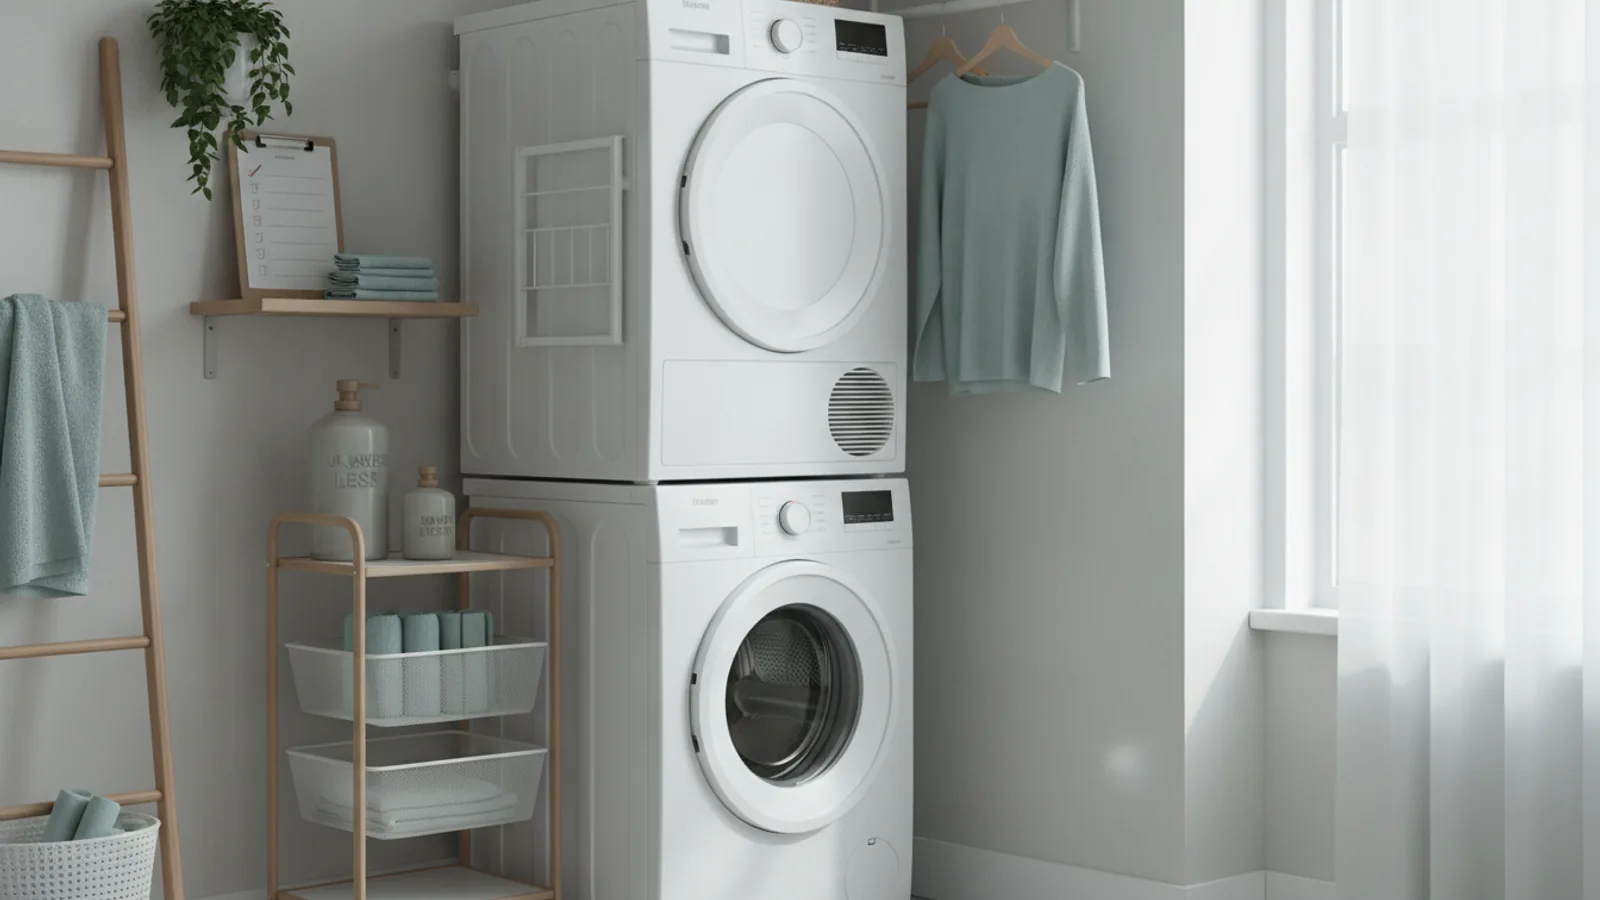
This guide helps first-time readers create a compact laundry setup that maximizes drying space, even in small living areas. You will learn how to plan a practical layout, choose space-saving tools, organize your workflow, and use simple techniques to speed up drying. The steps are designed for easy following, with clear actions and reasoning, so you can build a functional laundry corner without extra stress or confusion.
Fast Answer
- Choose a dedicated corner with a sturdy clothes rack and a few foldable drying racks to multiply vertical and horizontal drying space without taking permanent room.
- Use airflow and spacing: position racks near a window or fan, and hang clothes with gaps between items to help them dry faster and prevent mildew smells.
Before You Start
- Measure your available floor and wall space with a tape measure, so you know exactly how much room you have for a drying rack, folding table, or hanging rod.
- Select a collapsible drying rack that can be opened for full capacity or folded flat for storage; check its weight limit and number of bars before buying.
- Gather laundry essentials: a sturdy laundry basket, hangers, clothespins, and a small fan or dehumidifier if you have one, to boost air movement.
- Plan a temporary or permanent spot near a window or ventilation source, and clear the area of clutter so air can circulate around your wet clothes.
Step-by-Step Instructions
Choose a Primary Drying Zone
Find a spot in your home that has good airflow and enough space for a drying rack. Ideally, it should be near a window, a door, or an air vent, because moving air is key to drying clothes quickly. Measure the area to make sure your chosen rack or hanging rod will fit comfortably without blocking walkways. Place a floor mat or towel underneath to catch drips, especially for heavier items like jeans or towels. This zone will become your everyday hangout for wet laundry, so pick a place that is easy to access and not in the way. If you have a balcony or a bathroom with an exhaust fan, that can work well too. Check that the floor can handle moisture and that there is no direct sunlight for delicate fabrics, as strong sunlight can fade colors. This careful setup ensures you can use the space every day without frustration, and it helps you build a routine that is simple to follow.
Maximize Vertical Space with a Tall Drying Rack
A tall, tiered drying rack multiplies your drying area without taking up more floor space. Look for a model with multiple horizontal bars, sometimes called a tower or ladder rack, that lets you hang shirts, pants, and towels side by side on different levels. First, open the rack fully and check that each bar is stable. Then, hang larger items like sheets and towels on the lower bars, because they are heavier and easier to reach. Use the upper bars for lighter clothing like t-shirts and blouses. Make sure there is a gap of at least a few centimeters between each garment so air can flow around them. If you have long items like dresses, hang them diagonally or fold them over the bar to prevent them from touching the floor. This method increases the number of clothes you can dry in the same footprint, which is especially useful in a compact laundry setup. Regularly check that the rack is not overloaded, and consider rotating items after a few hours so they dry evenly.
Use Hangers on a Wall-Mounted Rod for Shirts and Blouses
Installing a wall-mounted or tension rod gives you extra drying space for clothes that are best hung, like button-up shirts, blouses, and jackets. First, choose a location where a rod will not interfere with door swings or foot traffic, such as above a washer or in a hallway nook. If you are allowed to drill holes, attach a sturdy rod with brackets; otherwise, use a tension rod that fits between two walls. Once the rod is secure, slip hangers on your wet shirts, and space them so they do not touch. Use thin, non-slip hangers to hold the shoulder shape and prevent slipping. For delicate fabrics, hang them inside a mesh bag or over a towel bar to avoid stretching. This method keeps your clothes wrinkle-free and speeds up drying because air can circulate around each garment. Always check that the rod is level and can hold the weight of your wet clothes, and avoid overloading it with too many items at once.
Add a Foldable Drying Rack for Small Items
A small, foldable drying rack is perfect for underwear, socks, delicates, and other small items that you can hang or lay flat. Choose a rack with multiple small bars or a mesh surface, and place it on a table, counter, or the floor near your main drying zone. First, unfold the rack and make sure it is stable. Then, organize items by type: hang socks over the bars, clip underwear to a line or peg, and lay flat knitwear on the mesh top to prevent stretching. Give each item enough space so they are not overlapping, which allows air to reach every part. This small rack is easy to move, so you can put it in the sunniest spot during the day and store it away at night. Regularly check that small items are drying evenly, and if moisture persists, lower the humidity in the room or increase airflow. This extra rack expands your drying capacity by providing a dedicated place for odds and ends that would otherwise take up space on the main rack.
Create a Folding Station for Dry Clothes
Having a clean, flat surface to fold clothes as they dry keeps your laundry area organized and prevents wrinkles. Choose a tabletop, a desk, or even a clean section of the floor that is not in the way. First, set up a basket or bin for freshly dried items, and keep it near the drying area. When clothes are dry, remove them from the rack and place them on the folding station. Sort items into categories, such as tops, bottoms, and underwear, and fold each type in a consistent way. This makes it easier to put away and find things later. While folding, inspect each garment for any spots or dampness; if something is still damp, hang it back for a little longer. By making this step a habit, you avoid a mountain of laundry piling up, and you train yourself to handle clothes as soon as they are ready. Ensure the surface is dry and clean, and have a few storage bins or drawers ready so you can immediately put folded clothes away. This station does not need to be permanent; you can use a lap desk or a portable board that you store under the bed.
Boost Airflow with Fans and Dehumidifiers
Circulating air and reducing humidity are the most effective ways to dry clothes faster in a compact space. If you have a portable fan, place it so that it blows air directly onto the drying rack or across the hanging clothes. If the room feels damp, use a dehumidifier to pull moisture from the air, especially during rainy or humid weather. First, set up a fan about a meter away from the rack, pointing toward the clothes. Do not aim the fan at a wall; instead, create a cross-breeze by opening a window on the opposite side of the room. If you have an exhaust fan in a bathroom, use that room for your drying setup, but make sure the fan is on for a few hours. Always monitor the humidity level; a simple hygrometer can help you know when to run the dehumidifier. This method prevents a musty smell and cuts drying time by almost half in some conditions. By controlling airflow, you can dry clothes even in a small, enclosed space without leaving them damp and wrinkled.
Quick Reference
| Situation | Action | Why it helps |
|---|---|---|
| You have just finished a load of laundry and need to dry it quickly in a small apartment. | Set up your tall drying rack near an open window, turn on a fan, and hang heavy items on lower bars and lighter items on upper bars. | This maximizes airflow around clothes and uses vertical space, which speeds up evaporation and allows you to dry more clothes in a limited area. |
| You need to dry a delicate blouse without stretching or leaving wrinkles. | Use a padded hanger and place the blouse on a wall-mounted rod, then ensure it is away from other clothes and direct heat. | Padded hangers prevent shoulder marks and hanging allows air to circulate, keeping the fabric smooth and reducing the need for ironing. |
| You realize your bathroom has high humidity because you just showered, and you plan to dry clothes there. | Turn on the exhaust fan and keep the bathroom door open for at least half an hour before hanging clothes. | This removes excess moisture from the air, so your clothes dry faster and are less likely to develop a mildew smell. |
Common Issues
- Clothes take too long to dry and smell musty.: Increase airflow by placing a fan nearby, opening a window, or using a dehumidifier. Ensure garments are spaced apart and not overlapping, and flip them after a few hours to expose all sides to air.
- The drying rack keeps tipping over or swaying.: Choose a rack with a wide, sturdy base and make sure it is on a level floor. Do not overload one side; distribute heavier items like jeans and towels evenly across all bars. If the rack has locking mechanisms, engage them.
- Wrinkles become set into clothes after drying.: Remove clothes from the rack a little before they are completely dry, then smooth them by hand or with a light iron on low heat. Hang shirts and blouses on hangers while they are still slightly damp to reduce wrinkles.
Advanced Tips
- For extra speed, use a fast-drying towel or absorbent towel to blot excess water from items before hanging, which reduces the moisture load on the rack.
- Set up a small pulley system or a ceiling-mounted drying rack near a heat source (but not too close) to take advantage of rising warm air, which helps clothes dry faster.
- Use an indoor clothesline with a hook and a pulley to create additional vertical lines in a corner; you can raise it out of the way when not in use.
Final Checklist
- Measure your available space and confirm your drying rack fits comfortably without blocking walkways or doors.
- Position your drying rack near a window or fan, and ensure each garment has a gap of at least a few centimeters for airflow.
- Set up a folding station with a clean, flat surface and a basket or bin for sorted dry clothes.
- Test your setup with a small load and adjust the fan or rack position if clothes take more than a few hours to dry.
FAQ
How can I dry clothes faster in a small room without a fan?
Open a window to create a cross-breeze, and if you have a dehumidifier, use it to pull moisture from the air. Also, space out clothes and hang thin items like t-shirts on hangers to allow air to circulate. Avoid overcrowding the rack, and turn clothes inside out to speed up evaporation.
Is it okay to dry clothes on a radiator or heater?
It can be done, but be careful. Place clothes at least a few inches away from the heat source to prevent heat damage, and never cover the heater completely, as that can be a fire hazard. Always check the care label for the fabric, and remove clothes as soon as they are dry to avoid overheating and setting wrinkles.
What should I do if my clothes develop a mildew smell after drying indoors?
Wash the clothes again with a cup of white vinegar in the rinse cycle to kill mildew spores. Then, dry them in a well-ventilated area with good airflow. To prevent this in the future, make sure clothes are fully dry before you store them, and clean your drying racks regularly to avoid mildew buildup.