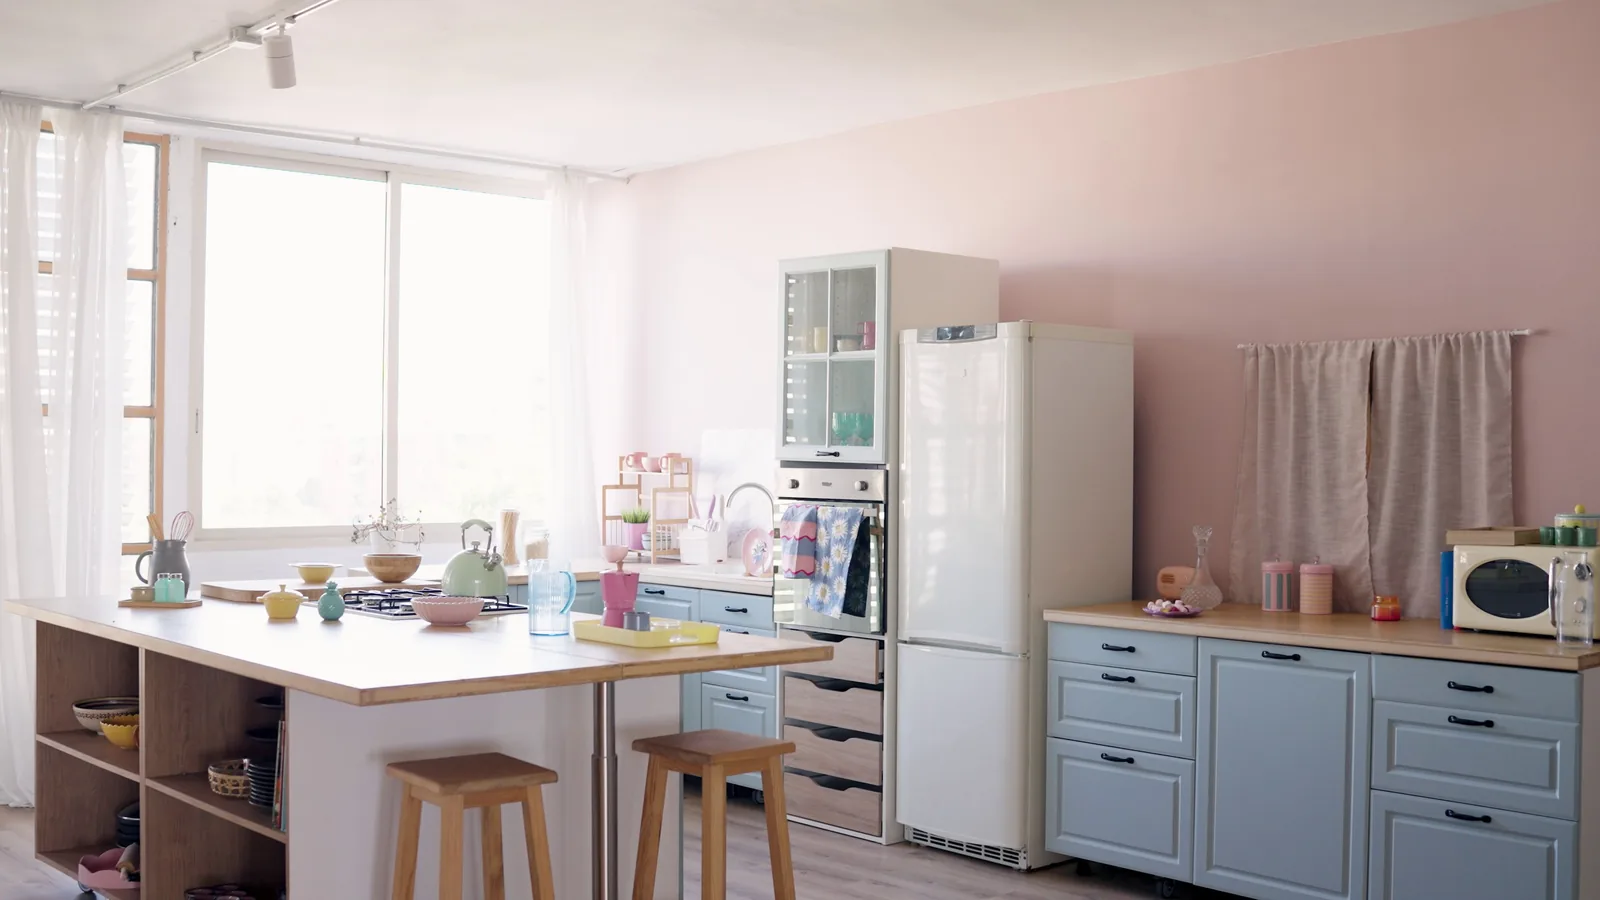
How To Update Your Kitchen Without A Full Remodel
A practical step-by-step guide to How to update your kitchen without a full remodel, including preparation, instructions, common issues, tips, and next steps.
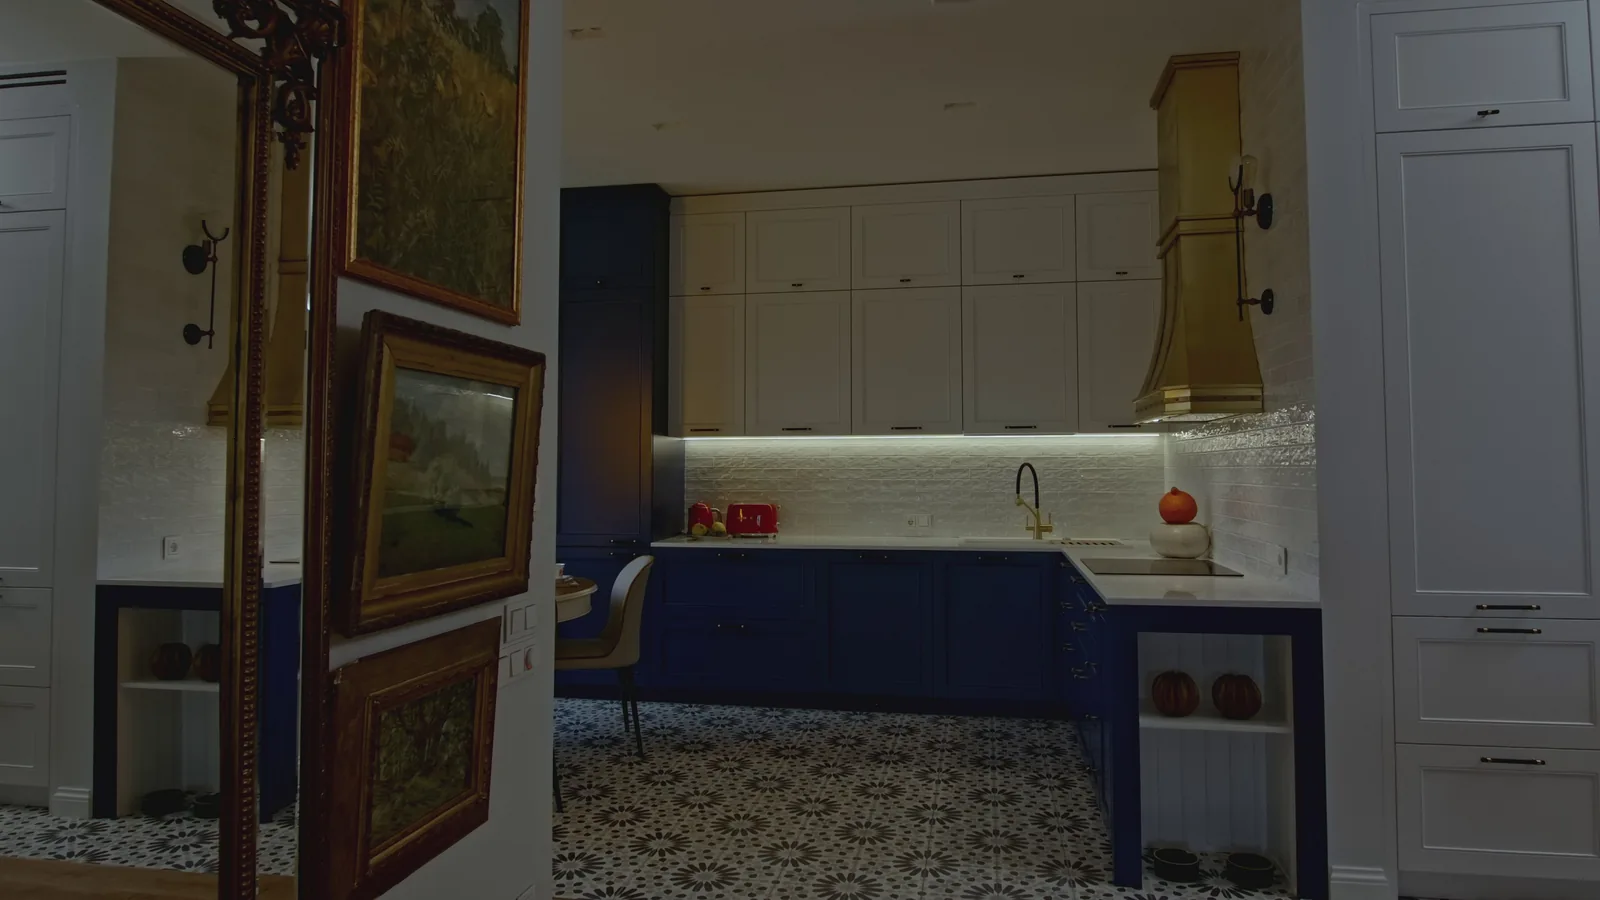
How To Update Your Kitchen Without A Full Remodel
A kitchen refresh can transform the most-used room in your home without the cost and chaos of a full remodel. By focusing on surfaces, hardware, lighting, and organization, you can achieve a noticeable upgrade in a few weekends. This guide walks you through planning, prepping, and executing changes that deliver high visual impact with manageable effort. You will learn how to set a budget, choose durable materials, and install updates safely, while avoiding common pitfalls that lead to wasted time and money. Whether you rent or own, these strategies help you create a kitchen that feels new and functions better.
Fast Answer
- Focus on high-impact, low-labor changes: cabinet hardware, a fresh backsplash, updated lighting, and a new faucet can dramatically change the look without major construction.
- Work in phases: declutter and clean first, then tackle cosmetic updates like paint or peel-and-stick tiles, and finish with functional upgrades such as drawer organizers and task lighting.
Before You Start
- Declutter and deep-clean all surfaces, cabinets, and appliances to reveal the true condition of your kitchen and create a blank canvas for updates.
- Measure your space accurately, including cabinet dimensions, backsplash area, and lighting locations, and write down all measurements in a notebook or digital file.
- Set a realistic budget that covers materials, tools, and a contingency fund for unexpected issues, and prioritize projects that offer the best visual return.
- Gather inspiration from design sources, then create a mood board with colors, materials, and finishes to guide your choices and keep the design cohesive.
Step-by-Step Instructions
Plan Your Update Strategy
Start by assessing your kitchen's current state and deciding which elements bother you most. Walk through the space and note issues like dated cabinet hardware, poor lighting, or a bland backsplash. Rank these by impact and cost, then choose a mix of quick wins and one or two larger projects. For example, swapping hardware is inexpensive and fast, while installing a new backsplash takes more time but adds significant visual appeal. Create a timeline that sequences tasks logically: decluttering first, then painting or tiling, then installing fixtures. Check that your plan fits your budget and skill level. This check matters because trying to do too much at once can lead to unfinished projects and wasted materials. A clear plan keeps you focused and helps you avoid impulse purchases that do not fit your design.
Refresh Cabinets with Paint or Refacing
Cabinets often dominate a kitchen's look, so updating them delivers a big payoff. If your cabinet boxes are solid, consider painting or refacing instead of replacing. Remove doors and drawers, label them, and clean all surfaces with a degreaser to remove cooking residue. Sand lightly to create a profile for paint, then apply a bonding primer. Choose a durable cabinet paint in a color that complements your countertops and floors. Apply two thin coats, allowing proper drying time between coats. While doors dry, paint the cabinet frames. Reattach hardware after the paint cures. Check that doors open and close smoothly without sticking; if they do, sand the edges lightly. This check ensures your hard work lasts and prevents chipping. Painting cabinets can take a weekend but costs far less than new cabinets and dramatically updates the room.
Install a New Backsplash
A new backsplash protects walls and adds color and texture. Peel-and-stick tiles are renter-friendly and easy to install, while traditional tile offers a custom look. Measure the area and purchase about ten percent extra material for cuts and mistakes. Clean the wall thoroughly and ensure it is flat. For peel-and-stick, simply peel and press each tile, using a level to keep rows straight. For traditional tile, apply mastic with a notched trowel, press tiles into place, and use spacers for even gaps. After the adhesive sets, apply grout and seal it if required. Check that tiles are firmly adhered and evenly spaced by running your hand across the surface. This check prevents loose tiles and uneven lines that ruin the look. A backsplash project can be completed in a weekend and instantly modernizes your kitchen.
Upgrade Lighting for Function and Style
Lighting sets the mood and affects how you use your kitchen. Start by turning off power at the breaker, then replace old fixtures with new ones that match your design. Consider adding under-cabinet lighting to brighten work surfaces; LED strips are easy to install and energy-efficient. If you lack outlets, choose battery-operated or plug-in options. For pendant lights over an island, ensure they are hung at a consistent height, usually about thirty to thirty-six inches above the counter. Check that all connections are secure and that no wires are exposed. Turn the power back on and test the lights. This check ensures safety and proper function. Good lighting can make a small kitchen feel larger and a dark kitchen more inviting, so do not overlook this step.
Replace Hardware and Fixtures
Swapping cabinet knobs, drawer pulls, and the faucet is a quick way to update your kitchen's style. Choose hardware that complements your cabinet finish and your overall design. Before purchasing, measure the distance between existing screw holes to ensure new hardware will fit; if not, you may need to drill new holes. Remove old hardware and clean the areas. Install new hardware using a screwdriver, being careful not to overtighten and strip the screws. For the faucet, turn off the water supply, disconnect the old fixture, and follow the manufacturer's instructions for the new one. Check for leaks by running water and inspecting connections. This check prevents water damage. New hardware and a faucet can make your kitchen feel custom without a major expense.
Add Organization and Storage Solutions
Clutter makes any kitchen feel dated, so adding smart storage improves both looks and function. Install drawer dividers, pull-out shelves, and stackable bins to keep items accessible. Use vertical space by adding a pegboard or wall-mounted racks for utensils and pans. For pantries, consider clear containers to see what you have and reduce waste. Measure your drawers and cabinets before buying organizers to ensure a proper fit. Install shelves securely into studs or with appropriate anchors. Check that drawers and doors still close properly after adding organizers. This check ensures that your storage solutions do not interfere with daily use. A well-organized kitchen feels larger and more efficient, and it costs far less than a remodel. Take the time to purge items you no longer need before organizing.
Quick Reference
| Situation | Action | Why it helps |
|---|---|---|
| You have a limited budget and want a noticeable change. | Replace cabinet hardware and add a peel-and-stick backsplash, then update the faucet with a stylish but affordable model. | These changes are low-cost and high-impact, and they can be completed in a weekend without professional help, making them ideal for budget-conscious updates. |
| Your kitchen feels dark and uninviting. | Install under-cabinet LED lighting and replace existing bulbs with higher-lumen options in the same color temperature. | Proper lighting brightens work areas, makes the space feel larger, and highlights your design choices, all of which improve both function and mood. |
| You are renting and cannot make permanent changes. | Use removable peel-and-stick tiles, temporary wallpaper, and freestanding organizers that can be taken with you when you move. | These solutions personalize the space without damaging walls or cabinets, ensuring you get your security deposit back and can reuse items in your next home. |
Common Issues
- Paint peeling or chipping on cabinets shortly after painting.: Ensure you cleaned and sanded surfaces properly and used a bonding primer. If peeling occurs, remove loose paint, sand, re-prime, and repaint with a high-quality cabinet paint. Allow adequate drying time between coats.
- Peel-and-stick tiles falling off the wall.: Clean the wall with a degreaser and let it dry completely. Apply a tile adhesive primer if recommended. Press tiles firmly for several seconds. If they still fall, use a thin bead of construction adhesive on the back for extra hold.
- New faucet leaks at the base or connections.: Turn off water supply and check that all washers and gaskets are properly seated. Tighten connections snugly but do not overtighten. If leaking persists, apply plumber's tape to threaded connections and reattach. Consult a plumber if unsure.
Advanced Tips
- Create a cohesive color palette by pulling one accent color from your countertops or flooring and repeating it in small doses through hardware, textiles, and decor.
- Use a laser level when installing tile or hanging shelves to ensure perfectly straight lines, which makes the finished project look professional.
- Add a temporary island or rolling cart to increase prep space without permanent construction, and choose one with a drop-leaf or storage to maximize utility.
Final Checklist
- Confirm that all power and water are turned off before starting any electrical or plumbing work, and double-check that no live wires or leaks remain.
- Verify that all new materials and fixtures are compatible with existing surfaces and that you have the necessary tools and safety gear on hand.
- Test all new installations, including lights, faucets, and drawers, to ensure they function correctly and safely before considering the project complete.
- Clean up all dust and debris, and dispose of old materials responsibly, leaving your kitchen ready to enjoy and your workspace safe.
FAQ
How long does a kitchen refresh take?
The timeline varies by project scope. Simple updates like hardware and lighting can be done in a day. Painting cabinets may take a weekend, while installing a backsplash could take two to three days. Plan for extra time if you are learning as you go, and always allow for drying and curing times between steps.
Do I need permits for a kitchen update?
Permits are typically required for structural changes, electrical work, or plumbing modifications. Cosmetic updates like painting, hardware, and peel-and-stick tiles usually do not require permits. Check with your local building department to confirm requirements for your specific project, as rules vary by location.
Can I update my kitchen if I rent?
Yes, many renters make temporary updates such as removable backsplash tiles, adhesive hooks, and freestanding organizers. Always review your lease agreement first, and avoid permanent changes that could damage the property. When in doubt, ask your landlord for permission in writing before starting any project.